Light movement for a static car
The production company, Frame Fatale recently reached out to me and asked if I could help them light a social media spot for Kia Austria. The budget was quite tight and we were going to be resourceful and creative.
Michael Kölblinger, the cinematographer, let me know that we would be using a consumer projector onto a cloth. The projector was not so strong. That’s an important detail, with this info I could anticipate the ball park intensity of lumins i’d be needing to work with. For this situation for example I avoided larger lights. My key was essentially going to be one soft source. Reaching a 5.6f stop at 800 ISO was a my goal.
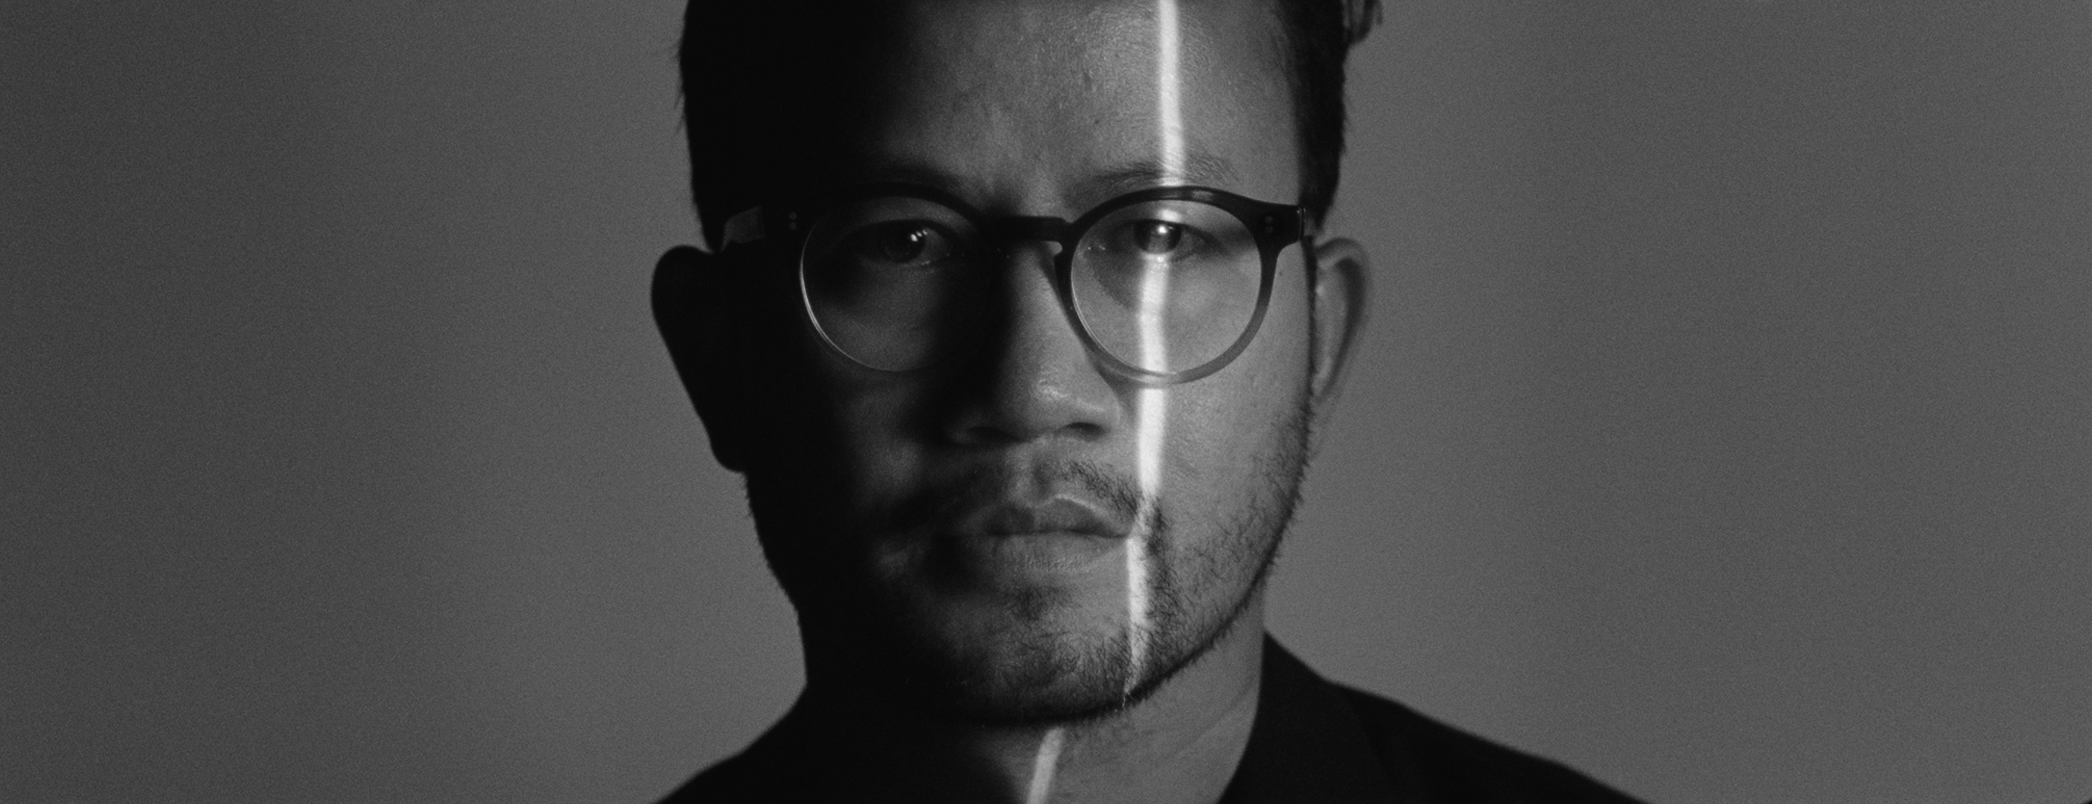
This image above was more or less my mood for the ambient key which would be filling in the character in the car. This an indirect day light sky. A large soft blanket of a source. It was clear that we would use a butterfly and shooting directly through a soft fabric. One can quickly conclude that perhaps directly over the car like a sky would be a good idea. But then your key light is going to be an overhead and unless it's at least 3 or 4 times the size of the car, you will have unpleasant shadows and you’ll need to fill them in with another source. In addition, the rigging work would have been a handful, and it would have been difficult to control the reflections which could have effected the sensitive background’s luminosity.
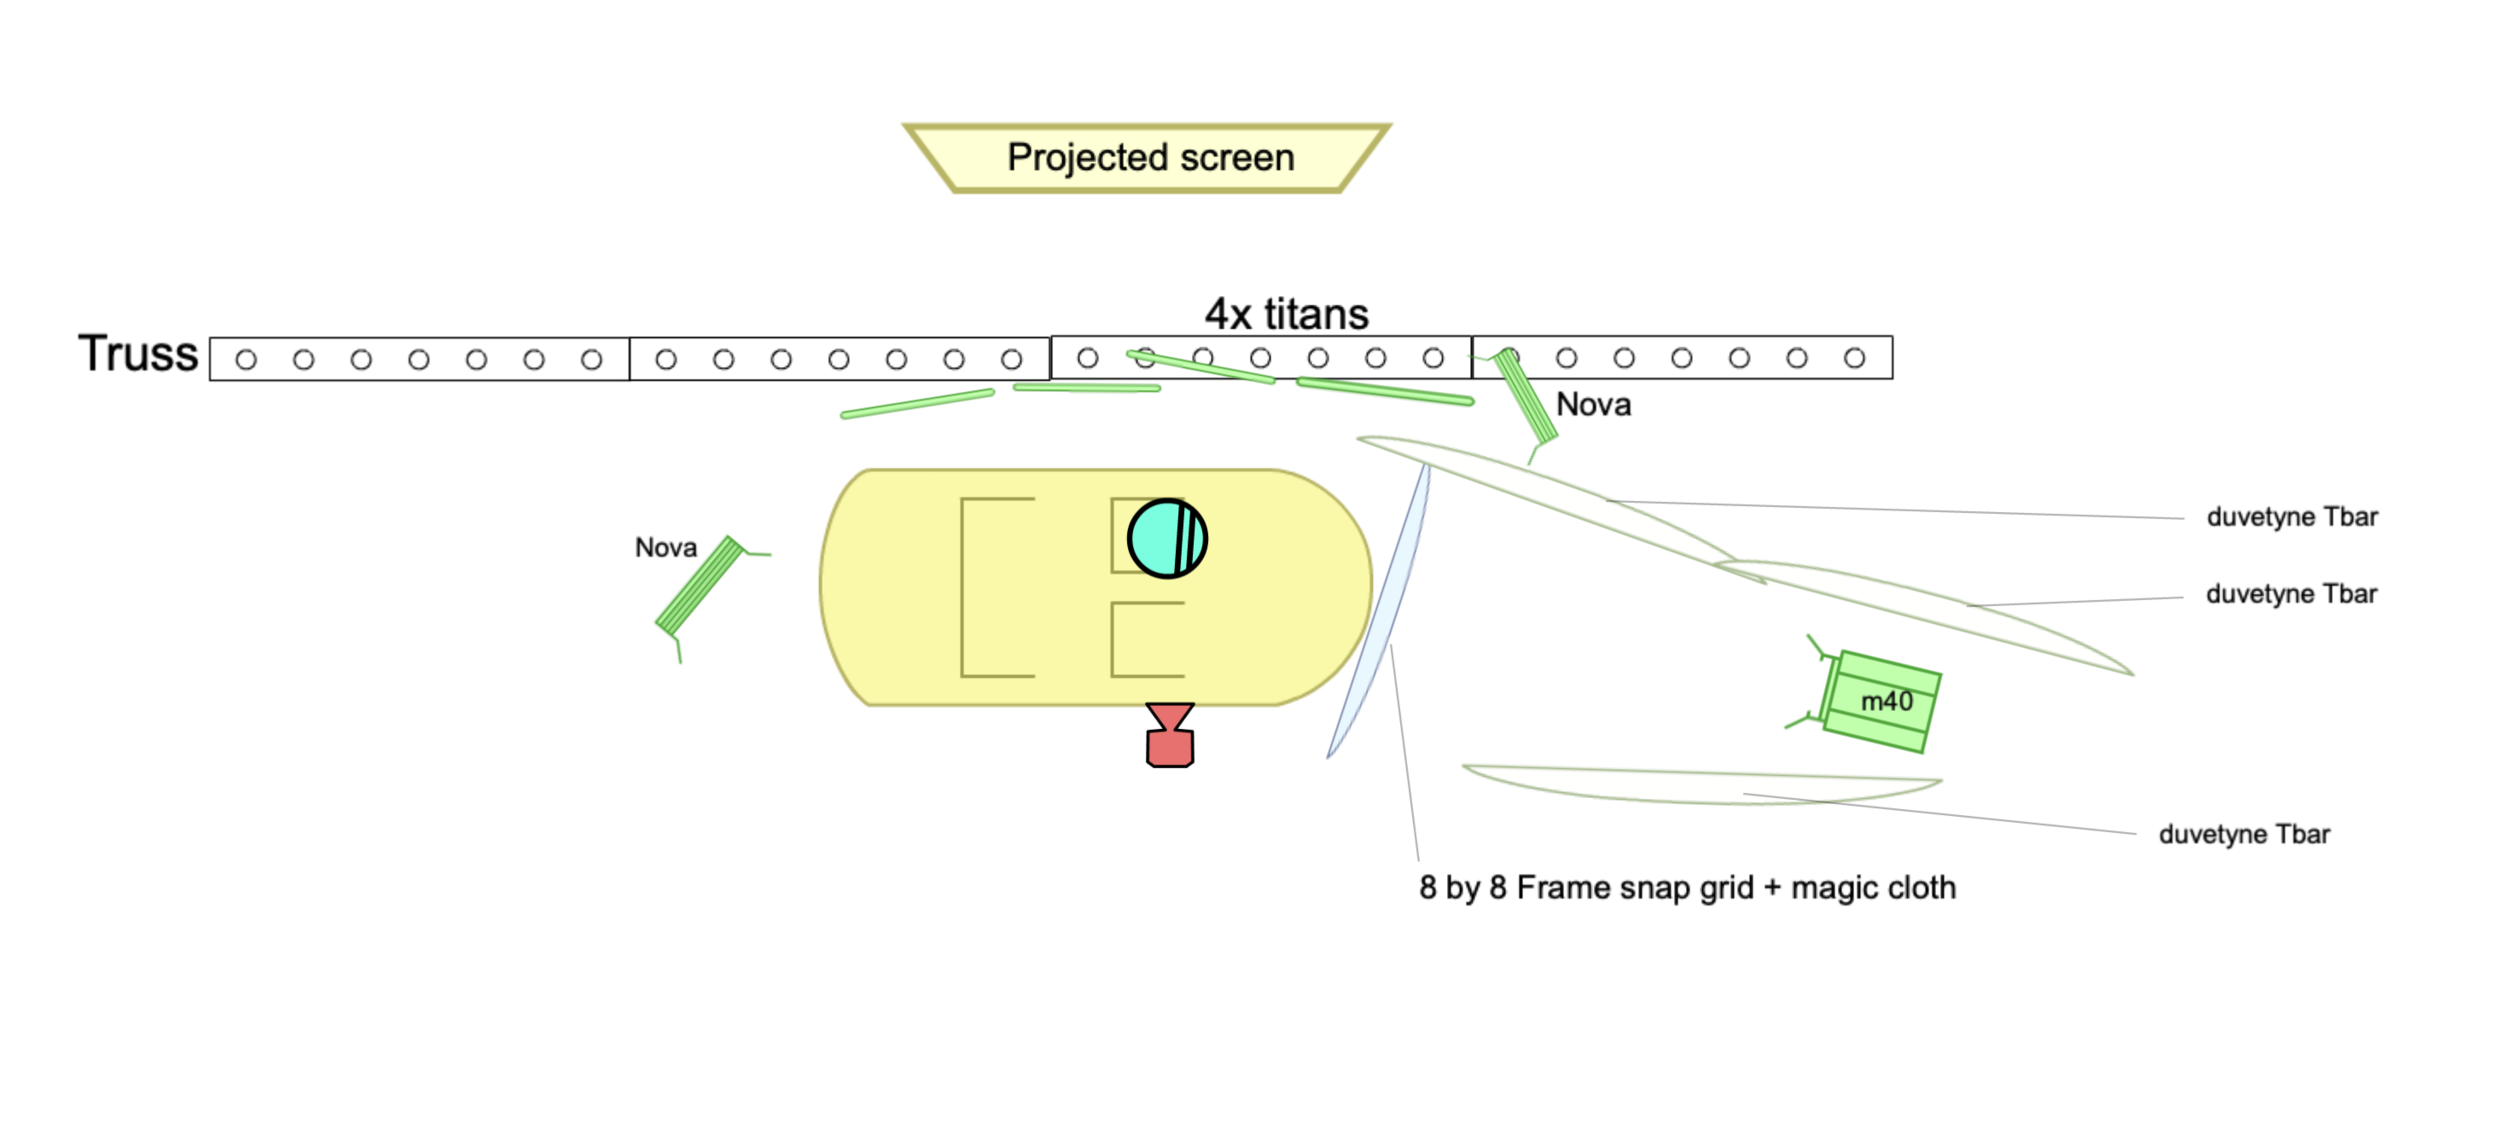
A shot designer overhead of the light set up
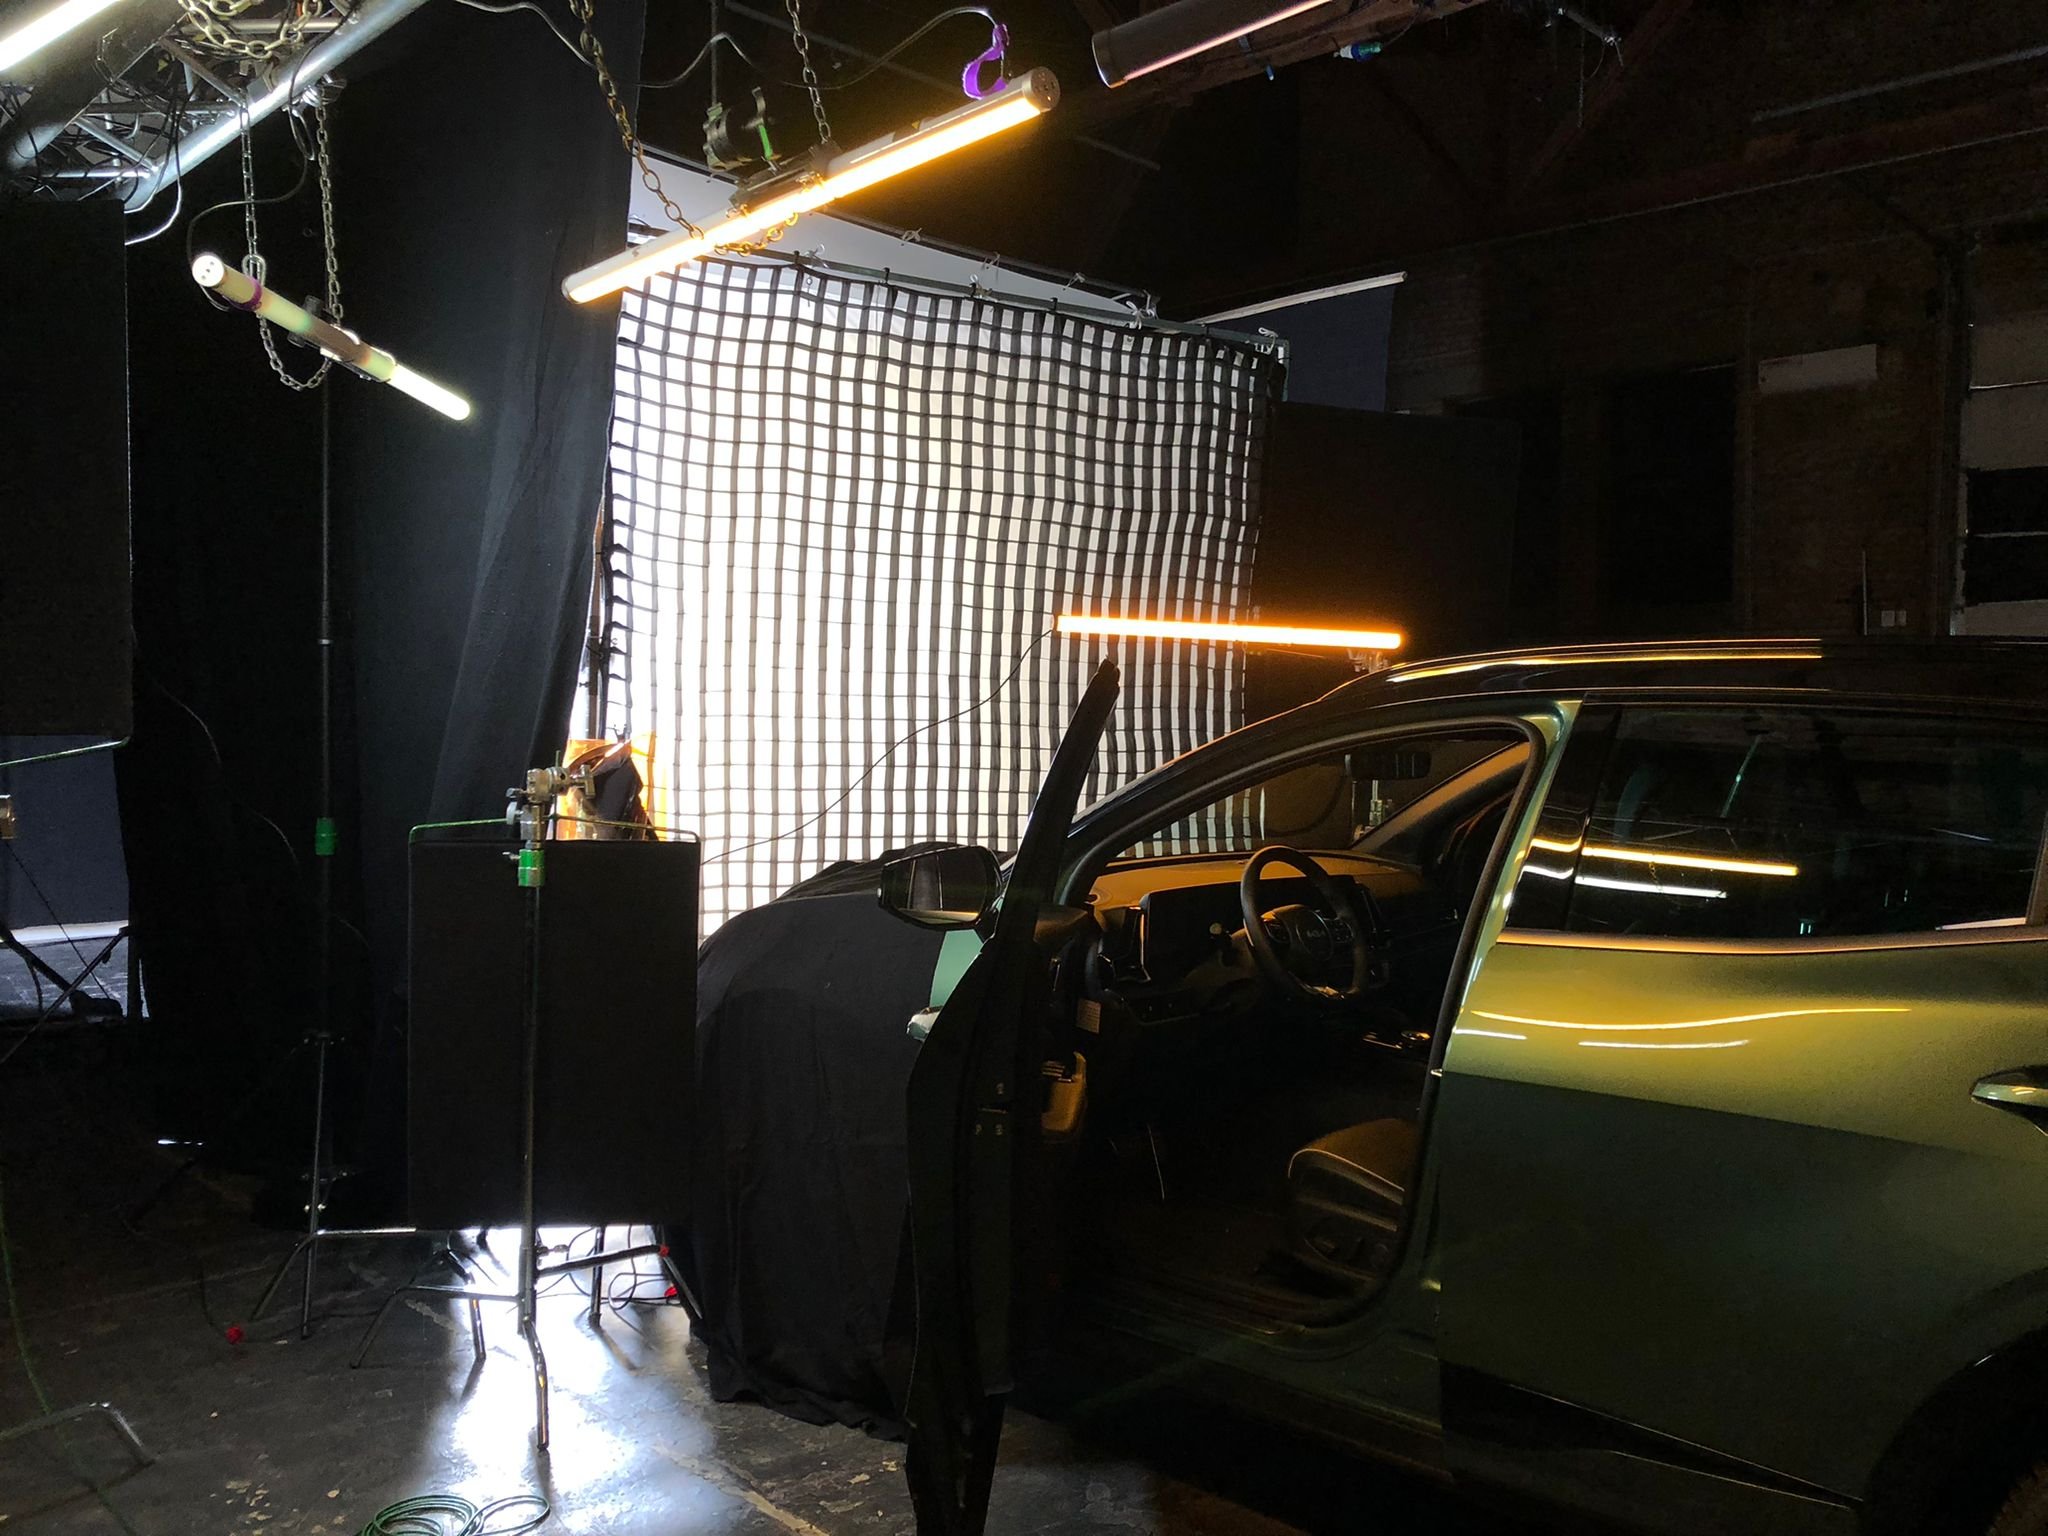
I placed the 8 by 8 in front of the car’s driver windshield this was a great place for the key because not only was it practical but also because it would always come from the side and our shots would not be front lit. I also anticipated it to wrap well around the driver's frontal profile but still give the viewer an appealing cinematic contrast.
The Key light which was hitting this 8 b 8 frame was an Arri M40. The benefit of using a studio like this size was we had plenty of space. And we kept the m40 about 7 meters from the frame. In the 8 by 8 frame I used a magic cloth. With more distance your light will inverse more and therefore have a better fall off and then result in less harder shadows. Given this distance and inverse spread comes another issue: undesired spill. One should always anticipate spill and spread and how to control it.
Cleaning up your spill.
In the image above you’ll see the two duvetyne t-bars hanging to the right. There are also 2 other T-bars which are not in the photo. I also aught to mention the floor of this studio is also painted black. The step of controlling the lamp’s spill from hitting the background is not to be underplayed. Especially with our background being extremely susceptible and sensitive to any kind of spill. This is why I also added an 8 by 8 snap grid in front of the magic cloth to limit it’s spill and spread.
Movement
Now that I had our key covered, it was then time to work the movement in a practical and controlled way. The lamps I would use for movement were going to be 6x Astra Titan tubes and 2x Apature Nova’s. Not only are these lamps RGB, but they are also controllable via Dmx/Crmx. The Titians are also capable to be being synced together and make a chase effect which is the exact look which one would expect from a car moving about any space.
I made a truss on two wind up stands that had wheels. This was so I could adjust the lamps to where ever the car was to be parked. The truss would be always between the car and the background projection and about 3 meters high. We rigged the 5x asteras and one Nova onto the truss.
We connected to Astera power box via DMX, then each Astera was hardwired via header extension cables into the box. From there we connected to the two other Nova’s via daisy chain (dmx out to dmx in.)
Dmx setting for the Titians
The Titians would need to have many possibilities: intensity, CCT, RGB, and effects. The Black out licensed app I was using, had one universe which is 512 channels. For gaffers who want to merely to control CCT and intensity on 10-15 lights this is more than enough. However if we were to need more dynamic control from a pack of 8 titans you can find yourself with your single universe filled before you know it. Because of that I choose 8 pixels rather than 16. With this I had the option to literally control 8 lights within one titan tube. This was more than sufficient in getting the chasing effect I wanted.
I was fortunate enough to be able to connect to the titans before the shooting day with black out. I highly recommend to new users not underestimate a good amount of practice needed before they bring this tool to set. It took me about 6 hrs of practice to really get a small understanding on how to use it. I used black out for this project as my interface.
Conclusion:
In the end, the client, dop, and myself are happy with the results. It was a great opportunity to try out some new things including Blackout and also using the DMX workflow.


